The Related Posts feature scans all of your post content, analyzes it, and uses the results to display additional posts your visitors might be interested in reading after they’re finished with the current post.
Note: This page describes how to use Related Posts when using the Block Editor. There is a separate article for Related Posts with the Classic Editor.
Most sites that activate this see an increase in traffic. Unlike many other related post plugins, we do all the analysis, processing, and serving from our cloud, so there is no additional load on your server. That’s why Jetpack Related Posts are allowed on web hosts even when similar plugins are banned.
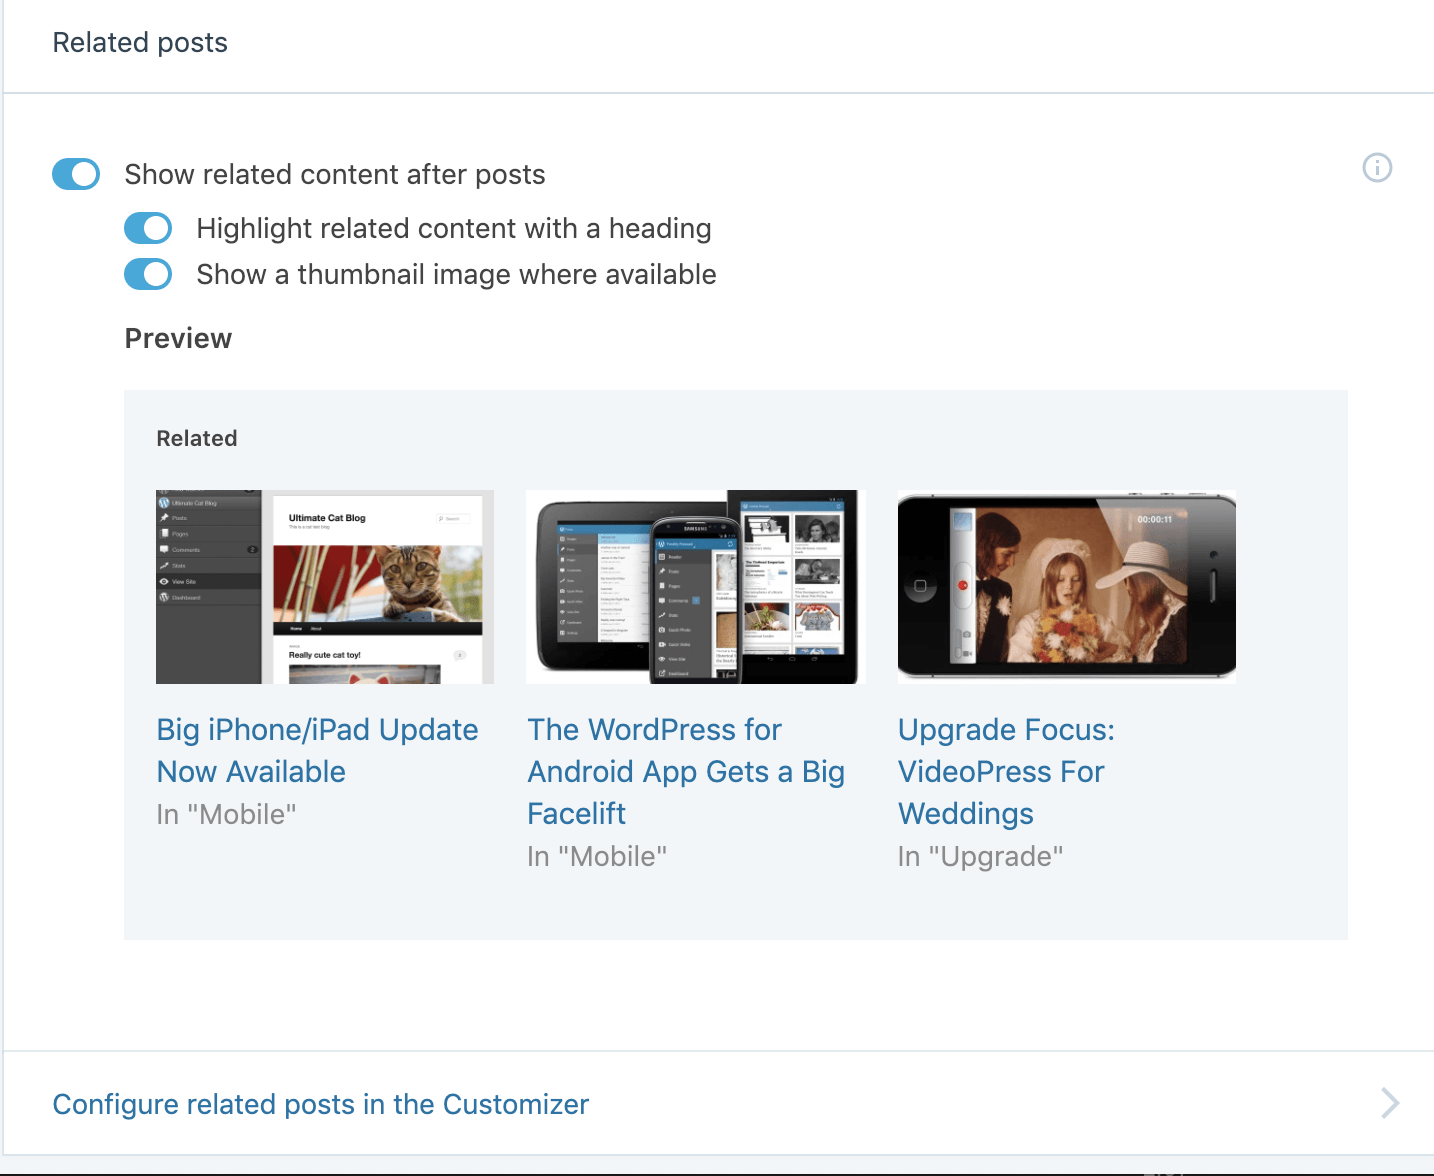
To start using Related Posts, go to Jetpack → Settings → Traffic page and activate the “Show related content after posts” toggle.
Adding Related Posts (Classic Themes)
If you are using a classic theme (as opposed to a block theme, built for the new Site Editor), Related Posts will be added automatically for you under your post content.
If you want to modify how and where Related Posts are displayed on one of your posts, you can add and configure the Related Posts block. You can add this block anywhere in the post content. Your block will replace the automatically added Related Posts.
To add Related Posts, add a new block either with the in-post block selector or using the block selector in the post toolbar. For more detailed information on adding Jetpack blocks, see the Jetpack Blocks page.
Jetpack Blocks require the Block Editor (also referred to as the Gutenberg editor). If you’ve installed the Classic Editor plugin, you will need to switch back to the Block Editor either by:
- Deactivating the Classic Editor: Go to Plugins → Installed Plugins in your WP Admin and deactivate the Classic Editor plugin.
- Enabling both editors: If you prefer flexibility, navigate to Settings → Writing in your WP Admin. Set Allow users to switch editors to Yes.
See Using Blocks and the Classic Editor for more details.
It may happen that an editor that comes with a custom theme or plugin prevents you from using the Block Editor. In that case, please contact the respective plugin or theme author for further assistance.

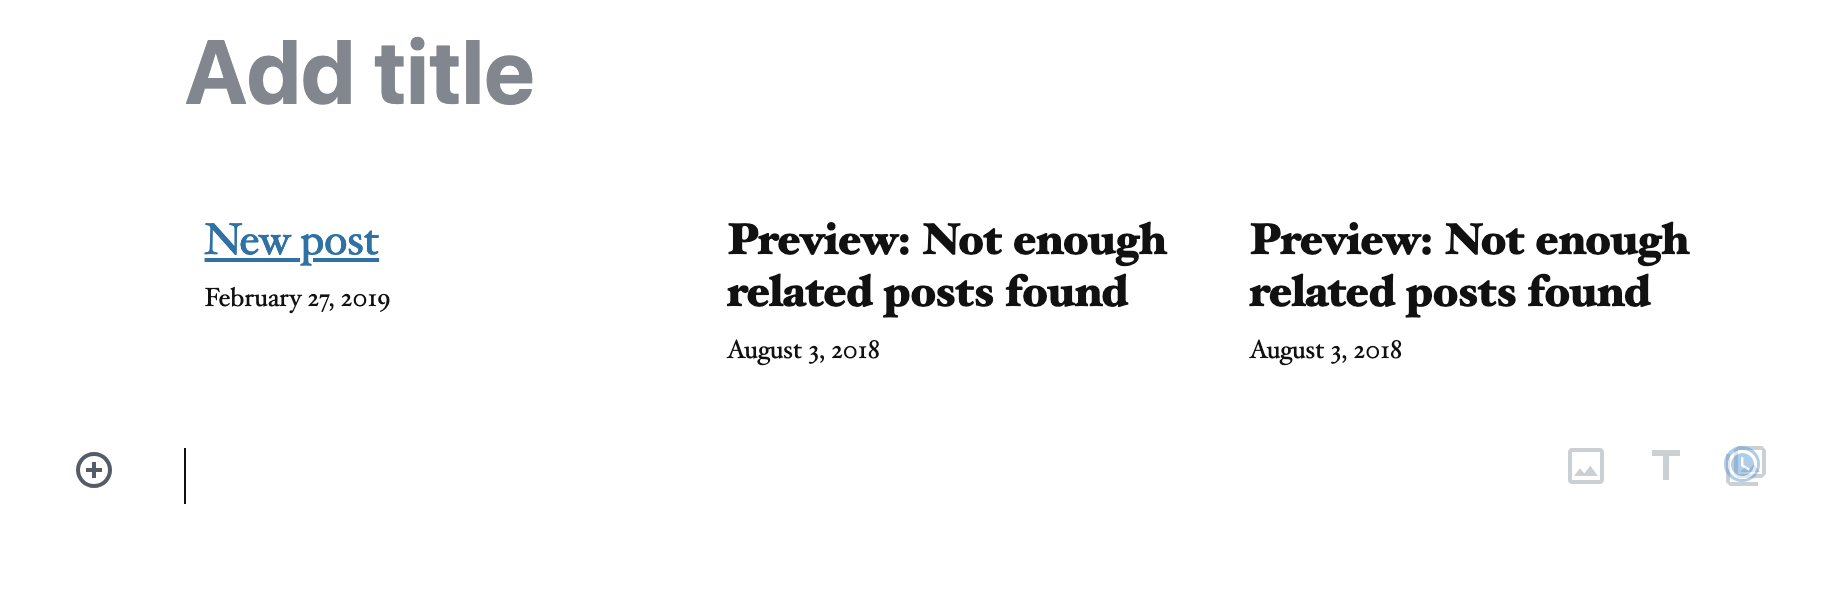
After adding the block, you’ll see any relevant posts showing up; otherwise, you’ll see a message saying “Preview: Not enough related posts found”.
Note: It is only possible to add one Related Posts block to a given post.
Block Toolbar
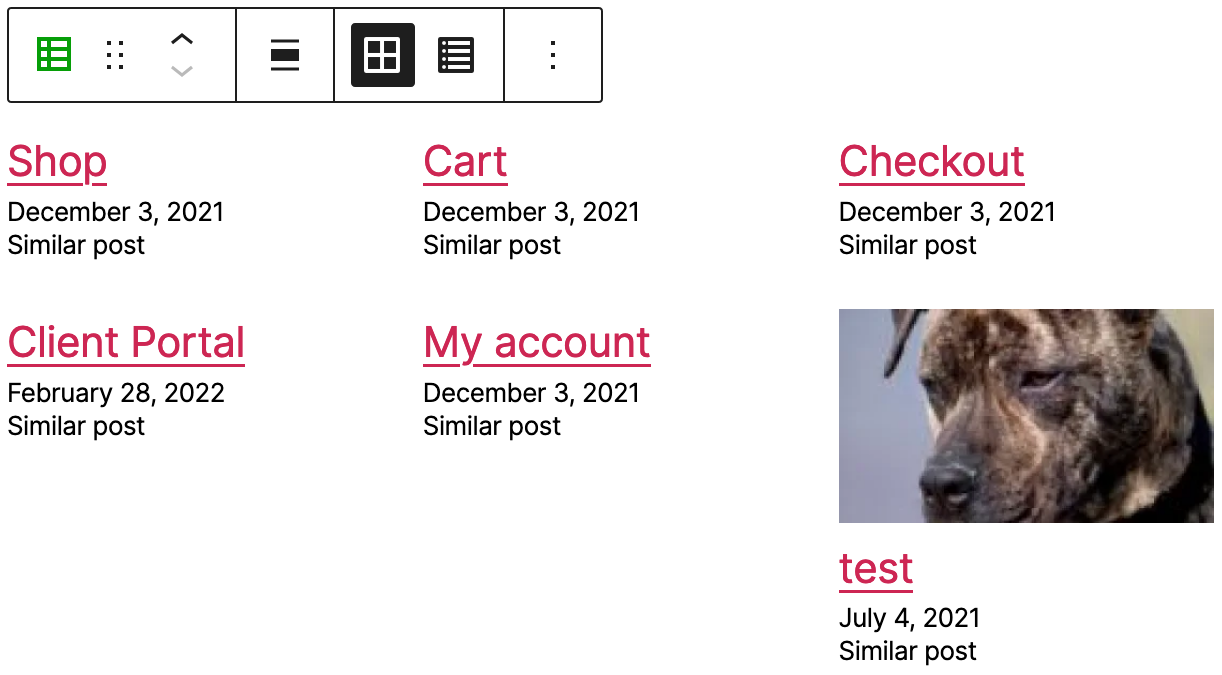
Click on the block to display the block toolbar. The Related Posts block offers the following options in its toolbar:
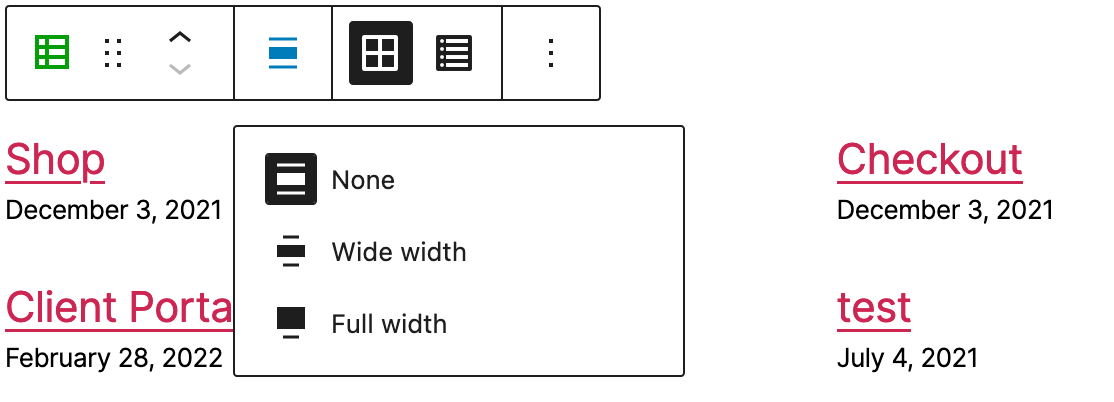
As with the image block, the Related Posts block can be set by clicking the wide-width or full-width icons.
The Grid view option in the toolbar displays posts side-by-side, while the List view displays them horizontally in a list format.
Block Sidebar
In the Block sidebar you can manage the block layout and which per-post attributes should be displayed, as shown below:
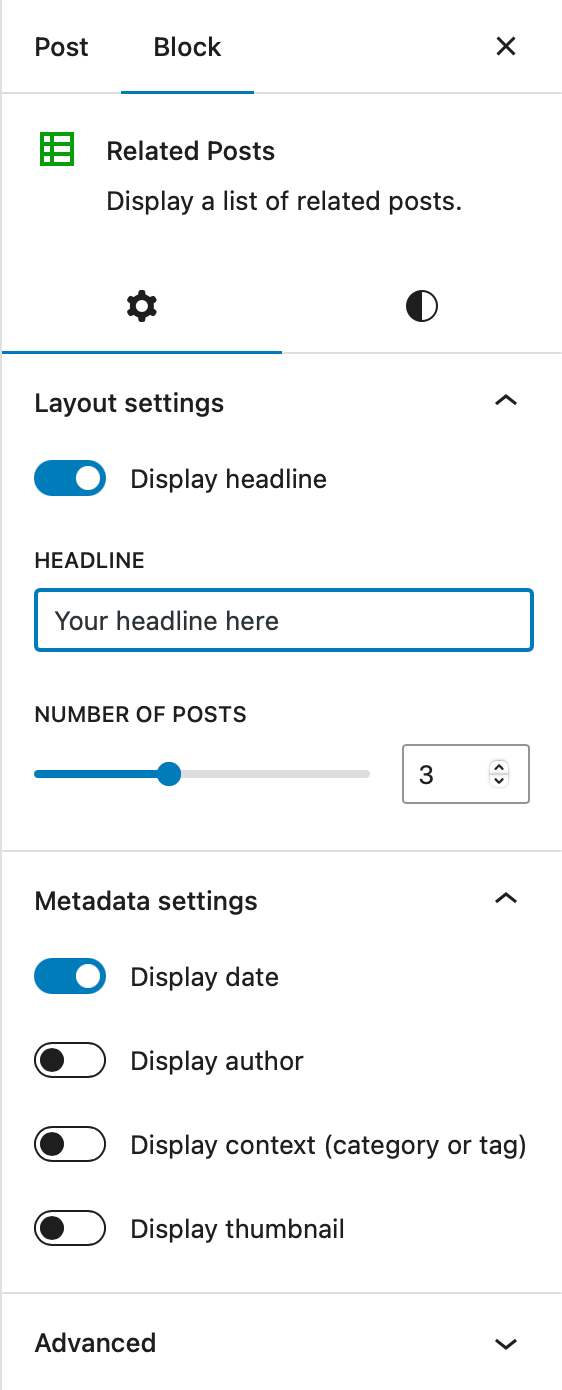
You can customize the background color and text color for the block. The background color has two options: solid and gradient:


You can configure your Typography size using a pre-selected default size or custom size.

Adding Related Posts (Block Themes)
If you are using a block theme (such as Twenty Twenty-Two or Twenty Twenty-Three), Related Posts are not automatically added. Block themes are designed to give you more control over how the content is displayed. It’s up to you where Related Posts should be placed.
To include Related Posts while using a block theme, you will need to add the Related Posts block to your theme’s Single template (the Single template is responsible for the layout of blog posts.) You can learn more about editing theme templates here.

The Related Posts block can be placed anywhere within the Single template. You will add it either with the in-post block selector or using the block selector in the post toolbar. You can refer to the Block Sidebar section above to learn more about the block configuration.
If you don’t want Related Posts displayed by default, you can instead add the Related Posts block to the post content of some specific posts of your choosing.
General Information
- Related Posts will not appear unless we think we can show at least 3 good results (to avoid simply cross-linking posts with one another).
- Related Posts are automatically generated based on the content of the post and any Tags or Categories you’ve added.
- The maximum number of Related Posts you can display is 6.
- Related Posts for a given article are cached for 12 hours.
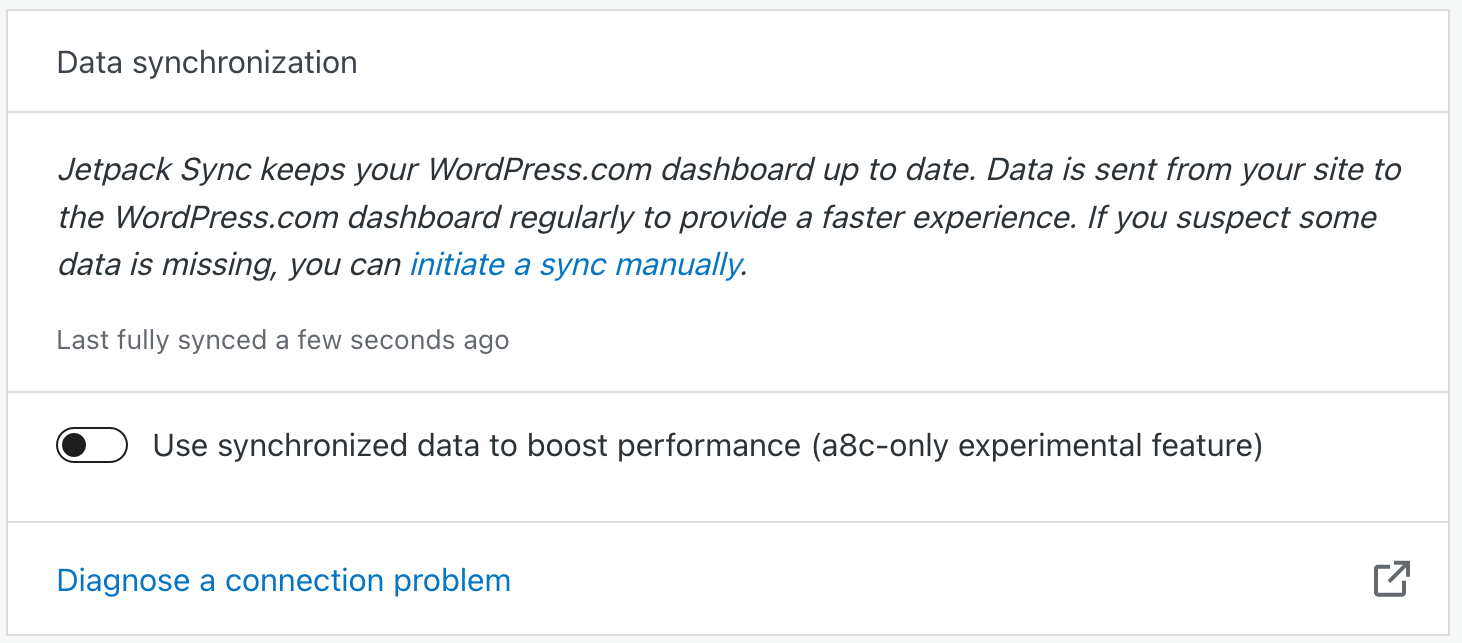
- This feature uses the WordPress.com infrastructure and mirrors your content there for indexing. If you see intermittent issues only affecting certain posts, you can request a reindex of your site by clicking on initiate a sync manually under Data synchronization, at the bottom of your WordPress.com Settings → General → Manage connection page.
Details on Related Post Thumbnails
- A post’s featured image will appear as the thumbnail. If you haven’t set a featured image for the post, we will look for slideshows and galleries, and then for any images that may be attached to the post. If we don’t find any image attached to that post, we’ll look for single images you may have inserted in the post. If you’ve inserted an image that is hosted on another site, we can use it too.
- Thumbnails are resized and cropped automatically using the Jetpack image CDN to be 350px wide by 200px tall (1.75:1 ratio) to allow for a consistent visual display. Since this is done automatically, there’s no way to fine-tune where the image is cropped. However, you can change the size of the cropped image by using the jetpack_relatedposts_filter_thumbnail_size filter.
Still need help?
Please contact support directly. We’re happy to advise.
Privacy Information
Related posts is deactivated by default. It can be activated at any time by toggling the Show related content after posts setting in the Related posts section from Jetpack → Settings → Traffic in your dashboard.
| Data Used | |
|---|---|
| Site Owners / Users
In order to generate related posts, the following information is used: WordPress.com-connected site ID, local site ID, and the post IDs of the current post and any posts determined to be related. Moreover, related posts are determined by running the post content through Elasticsearch on WordPress.com servers.Additionally, for activity tracking (detailed below): IP address, WordPress.com user ID, WordPress.com username, WordPress.com-connected site ID and URL, Jetpack version, user agent, visiting URL, referring URL, timestamp of event, browser language, country code. |
Site Visitors
None. |
| Activity Tracked | |
| Site Owners / Users
We track when, and by which user, the feature is activated and deactivated. We also track when, and which, configuration settings are modified. |
Site Visitors
None. |
| Data Synced (Read More) | |
| Site Owners / Users
We sync options that identify whether or not the feature is activated and how its available settings are configured. |
Site Visitors
None. |
